1 of 27
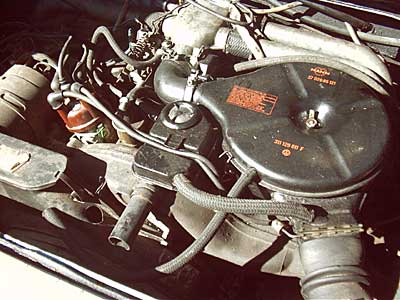
Here's how the engine looked the day I first saw the car. A couple hoses off, but otherwise it actually doesn't look too bad. Certainly it's a bit cleaner than a lot of other engines you might find on the Samba. When I got it home though, a compression test revealed problems with cylinder #3. Torquing down the lower head studs didn't fix it, so I figured I at least needed to check the heads to see if a valve was burnt or carbon was stuck in the valve seat.
2 of 27
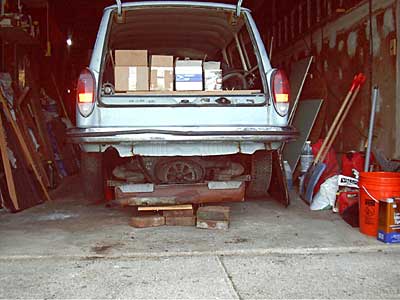
My wife helped me drop the engine on Father's Day. We labeled all the wires and separated all the bolts and other things into little baggies. Originally, I thought I was just going to replace the heads at the most.
3 of 27
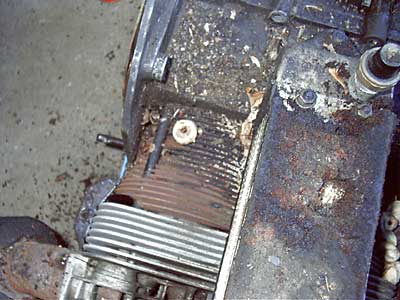
Here's the nightmare that was hidden underneath the cooling tin. The cylinder fins were entirely caked with dirt. I'm sure the rust didn't help either, but I guess it's normal.
4 of 27
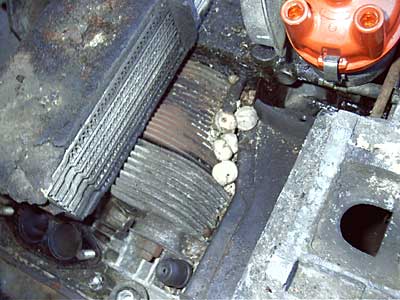
These acorn-type nuts were everywhere. Not only were they inside the trunk, underneath the back seats, and under the cooling tin, but somehow they even made it into the heat exchangers. That's a spark plug socket boot that I had lost when I originally took out the plugs to do the compression check.
5 of 27
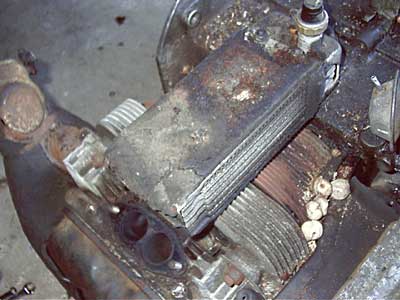
Here's a farther-back shot of how the whole thing looked. Not the cleanest engine, and it got dirtier the deeper I got into it. So much for a "clean engine!"
6 of 27
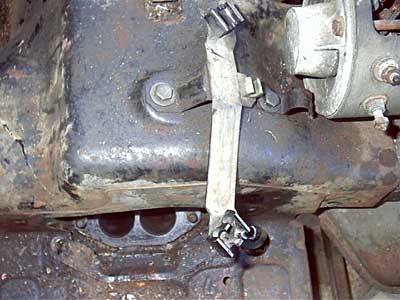
The engine had developed a pretty decent oil leak. Oil had sprayed all over the left side of the motor, and had coated the driver's side heater box, lots of cooling tin, and the transmission bellhousing. Of course, after the oil was there, the dirt had great place to stick.
7 of 27
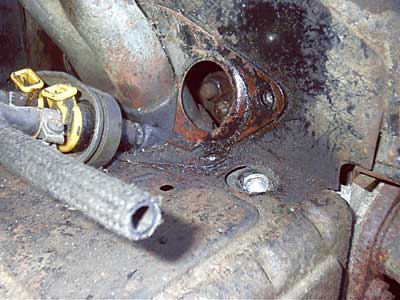
A coating of oil and dirt was everywhere. It took a heavy-duty degreaser and lots of quarters at the local spray-n-wash to get all the engine cooling tin clean.
8 of 27
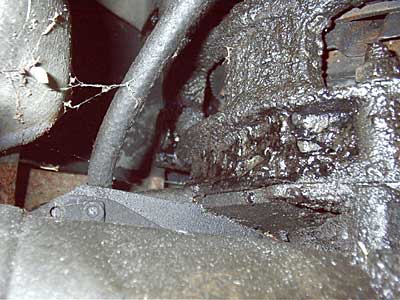
Here's the underside of the transmission bellhousing with a thick coating of oil and gunk.
9 of 27
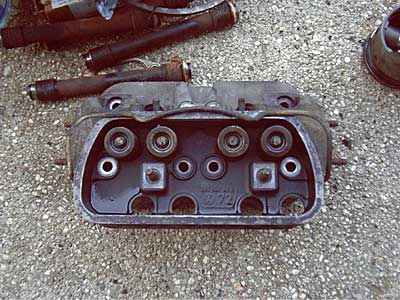
Finally got the heads off. Somehow I don't have a picture of the other side of the head, but it was fine. No carbon buildup, no burnt valve. I had to dig deeper to find the cause of my compression problem.
10 of 27
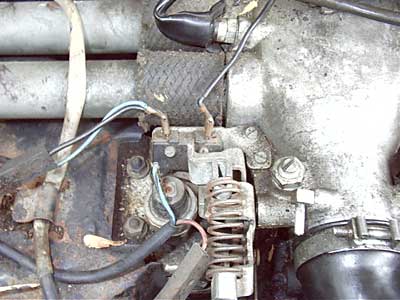
The oil cooler padding came off like caked dirt. You can see it just under the FI harness bracket.
11 of 27
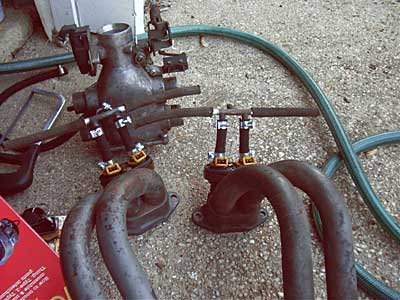
Two of the fuel injectors had already had their gas lines replaced, so I only had to hacksaw the metal grommet off of two of them. I then replaced all the fuel injector lines with braided fuel hose. I expect this to only last a year or two, and then I will be buying some nice Goodyear FI hose.
12 of 27
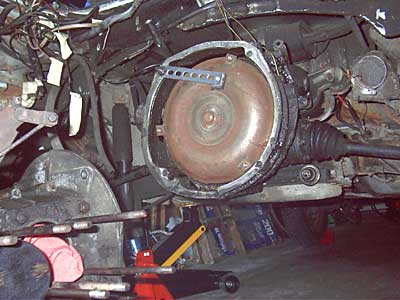
To the left is the engine case, pretty much stripped down. Two troublesome pistons remained, but were finally taken off with the help of a blowtorch. The center of the picture shows the torque converter held in by an altered piece of metal from a $2.99 universal tailpipe hanger kit. The transmission itself is held up by a coathanger (great suggestion Russ!)...
13 of 27
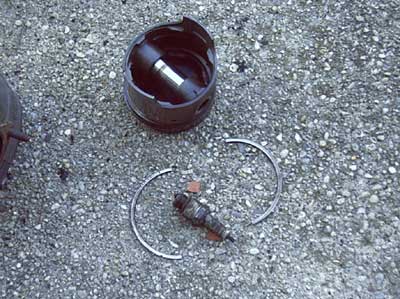
As soon as I took off cylinder #3, this dropped out — a lost spark plug and a broken compression ring. I don't know if this caused all the oil spraying, but it certainly explains why there was so much gasoline in the oil, as well as the very low compression reading on that cylinder.
14 of 27
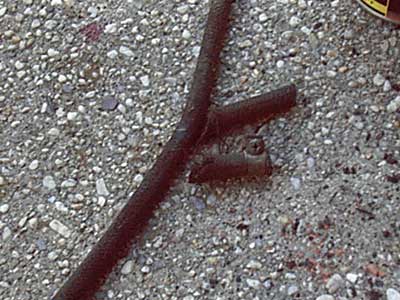
This is a typical example of the fuel lines I found throughout the vehicle. Some of them had the original clamps on them from the VW factory — those one-use pinch-clip clamps, indicating they had never been replaced. None of the lines connected to the tunnels between the engine and gas tank had been replaced, and many in the engine compartment were originals. Hmmm... 32 year old braided fuel lines.
15 of 27
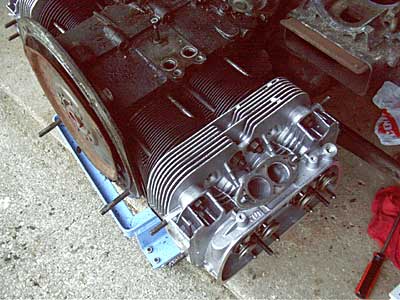
Here begins the reassembly. I bought a set of KolbenSchmidt pistons and cylinders off Ebay. They came with new pushrod tubes and a gasket kit as well. I was originally just going to reuse the original pistons and cylinders and save the KS ones for when I did a complete rebuild, but I figured I might as well use them. Cheap insurance. The cylinders here are painted with POR-15 Black Velvet for exhaust components. Hopefully that will not only help with cooling, but should also keep them from rusting.
16 of 27
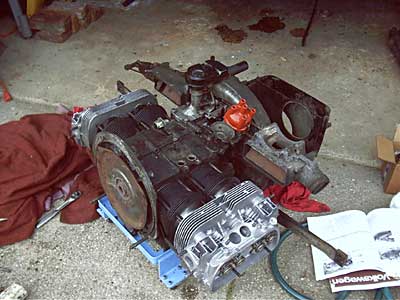
Pistons and cylinders installed, heads being guided in, but untorqued here.
17 of 27
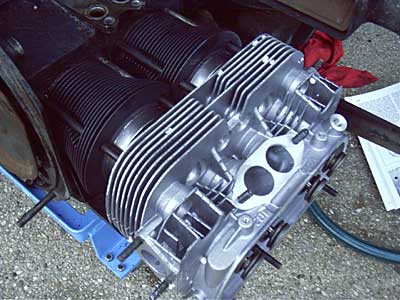
Closeup of heads, ready to torque down.
18 of 27
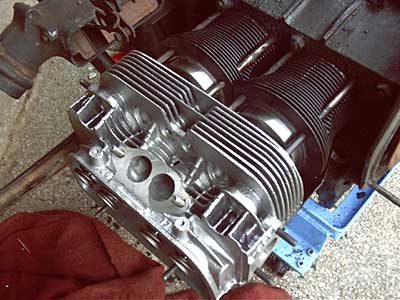
Other side.
19 of 27

First nice weekend in a while, I installed the rocker arms, adjusted valves, put main cooling tin on and reinstalled the air intake/FI distribution system. I also got a new generator/pulley belt and installed the generator.
20 of 27
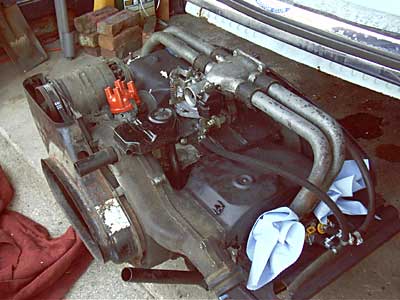
Other side.
21 of 27
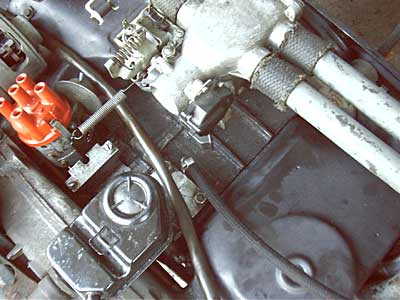
Here's a closeup of the covering on the fuel line that goes across the top of the engine. This is after I finished the backside of the fuel ring and hooked up the throttle spring to make sure it wasn't hitting on the cross-engine fuel line.
22 of 27
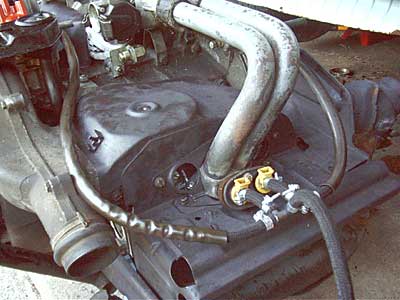
Finished the backside fuel ring, and also the heater boxes have been set into place.
23 of 27

Exhaust lined up, almost ready for install. I also picked up some new bolts for the engine mount. All the exhaust and cooling tin has been painted with POR-15 Velvet Black.
24 of 27

Other side. Still have to tighten up all the exhaust components, including heat exchanger and heater box studs.
25 of 27
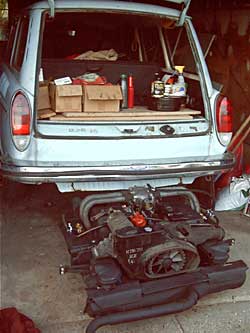
Almost ready to go back in the car.
26 of 27
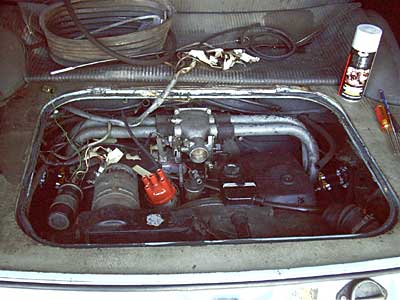
August 24, engine is back in. It wasn't quite as much of a nightmare as I thought it would be, but it was tough. I used a small jack and a bunch of bricks to ease it into place. I think the fact that it's an automatic made it a LOT easier. No input shaft to align. I still have to hook up most of the electronics, but the fuel ring is done and I've replaced almost all the vacuum lines.
27 of 27
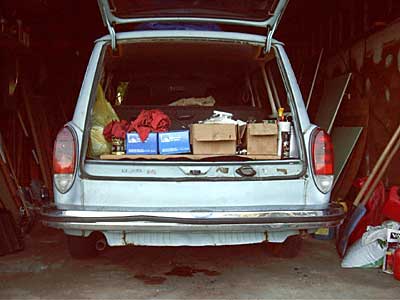
No more engine sitting underneath the car. It's nice to have some room to put stuff again. I think one more weekend day (maybe two) of hooking everything up, fixing the fuel filler neck, and it will be time to try to start it. I might still have a problem with the fuel pump relay, but I'll deal with that when everything else is set to go.
Can I just say how much I love my car?